
I used the Biggest Wish stamp set this week to create my card background. It forms part of the sentiment as well as the main pattern - it's a neat trick to keep up your sleeve for the times you want a card without an image.
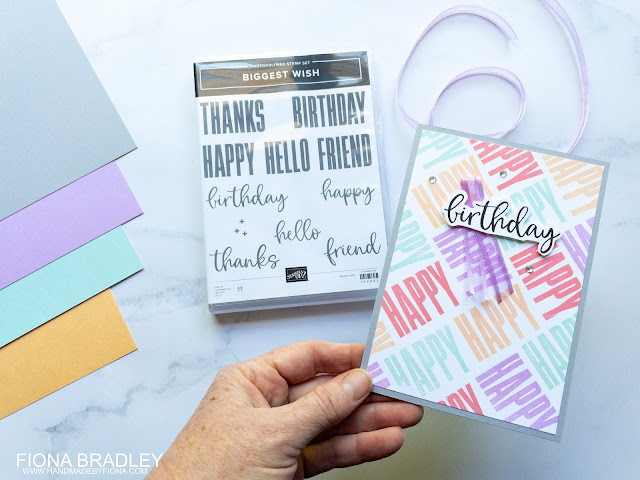
I picked out four ink pads and my shammy so that I could change the colour up as I went. Then all I did was plonk my first HAPPY down, cleaned off the stamp, inked it in a different colour, and turned the stamp so that it lined up to the first one at about a 90 degree angle. Then I did this repeatedly until the page was covered with HAPPYs of all different colours all slotting in together.
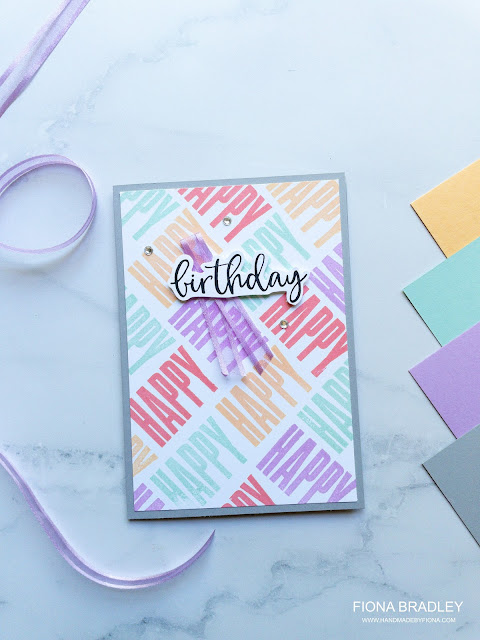
I fussy cut the birthday out and added some dimensionals behind it to stand off the page and snipped off a bit of coordinating open weave ribbon to add to the birthday theme.
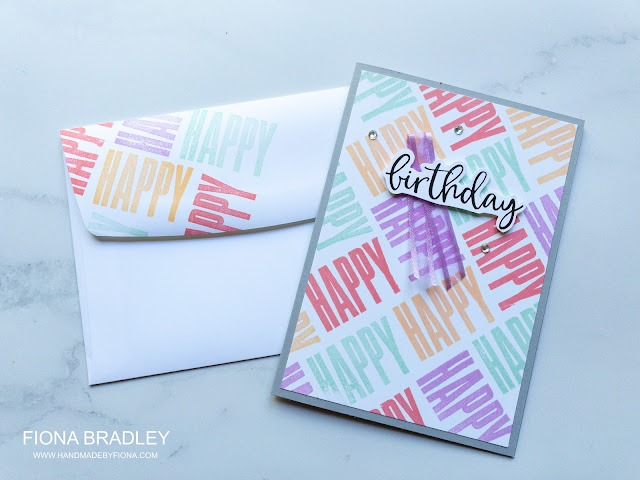
I didn't want to leave the envelope blank so I added a few HAPPYs to just a third of the envelope flap. To have covered the whole thing seemed a bit much. I like the tapered off look it gives.
Best thing with this design is that you can change up the colours to suit your taste! You could even use a different word. I got the idea for it from a card Christine Wrede made (she used the HALLO stamp from the German set) - with thanks!
Product List
 |  |  |  | |
 |  |  |  |  |
 |  |  |  | |
 |  |  |
")
 Open Weave Ribbon")
Happy crafting,

Shop with me
Add the current host code & receive a gift from me, find it at the top RHS of my website
Join my team
$169 gets you $235 of product + ongoing 20% discount + so much more
Contact me
Send an email or a why not post me a card
Shout me a coffee
If you have enjoyed and benefited from my tutorials and would like to support me